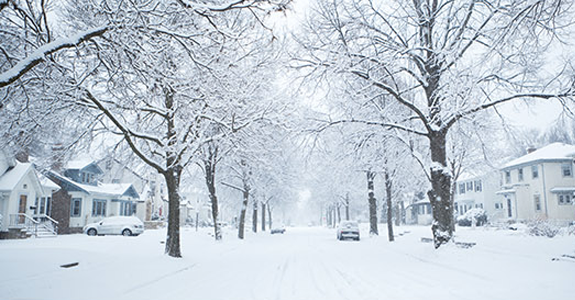
Heavy and wet snow, freezing rain and sleet, blistering winds, and frigid temperatures are some of the worst traits of winter and can be the cause of costly property damage. By properly winterizing their house, however, a homeowner may be able to reduce the chance that damage will occur at their property and, at the same time, improve their home’s energy efficiency and potentially lower their heating bills.
To help you with this important house winterization process, The Andover Companies has put together tips that focus on six key areas of your property and the preventive measures you can take to begin to winter-proof them.
1. Inspect the Chimney
- Have your chimney, as well as your fireplace or wood stove, professionally inspected for damages.
- Consider having a waterproof sealant applied to your chimney to better protect it from the elements.
- Put a cap—a simple metal device—on the chimney to help keep out moisture as well as pests.
2. Examine the Roof and Gutters
- Check the overall condition of your roof (with both feet on the ground to be safe), including the shingles and roof flashing.
- Look for water stains on your ceilings and walls, which are common warning signs of a roof leak or other roofing problem that should be fixed immediately.
- Clear gutters and downspouts of leaves and debris to help prevent ice dams from forming and water from leaking into your home after a winter storm.
3. Evaluate the Attic
- Repair or replace any damaged or worn-down insulation, including insulation on the attic door.
- Inspect your attic for small holes or cracks, especially by vents, pipes, and flues, and seal any openings with caulk.
- Check that the attic fan is functioning properly, and that attic vents are providing adequate airflow.
4. Appraise the Living Spaces
- Check your bathroom, kitchen, and laundry room cabinets for exposed pipes, and make sure to insulate those areas properly to avoid frozen pipes.
- Add caulk and weather stripping around windows and doors, apply window films and door sweeps, or install storm doors and windows.
- Set ceiling fans to rotate in reverse—a clockwise direction—to push the warm air that generally collects near ceilings down into rooms.
- Inspect smoke detectors, carbon monoxide alarms, and fire extinguishers to make sure they are in working order and properly placed around your home.
5. Assess the Garage
- Insulate the garage door and walls, any plumbing lines running through the garage space, and around light switches and outlet plug covers.
- Replace old weather stripping or caulk that has noticeable damage or is peeling away from door frames and windows.
- Add a protective layer or sealant, such as epoxy, to the garage floor to help prevent it from absorbing moisture and deteriorating.
6. Investigate the Areas Outside Your Home
- Inspect trees and other landscaping, and trim back branches or bushes that are too close to the house or utility wires.
- Walk the perimeter of your home and close off any vents that you might have opened during warmer weather.
- Drain the water from outdoor sprinkler systems and garden hoses, disconnect hoses from faucets, and cover outdoor faucets.
- Have your backup generator professionally serviced and clear an area where it will operate if a power outage occurs.
When should you begin winterizing your home?
While you can implement many of these preventive measures at any time of year, it is ideal to start this process in the early fall. Doing so should give you sufficient time to complete your house winterization before the first frost or winter storm hits. Starting early is also beneficial if you are going to enlist the help of licensed professionals for some of the more challenging maintenance, repair, and installation tasks.
Winter is not the only season that is known for severe weather and other hazards that could damage your valuable property. To get insights on safeguarding your home all year round, please check out our blog, where you will find articles on how to protect your home from tornadoes, hurricanes, fires, and more.

